In practice, the task of creating several documents of the same type, such as mailing letters, often arises. At the same time, only the names and addresses of the correspondents change in the letters, and the content remains the same for everyone. Microsoft Office has a "merge" mechanism for this. Moreover, you can use merging not only for letters, but also for any other documents, for example, contracts, orders, etc.
Suppose we have a table like this Excel:
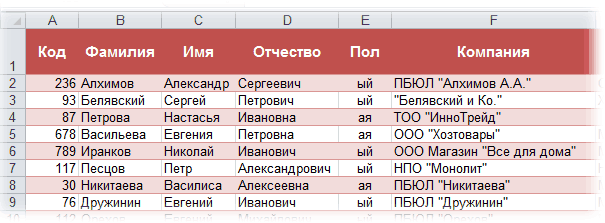
It stores information about key customers of our company (addresses, names, etc.), whom we want to congratulate on another holiday with the help of such a congratulatory letter in Word:
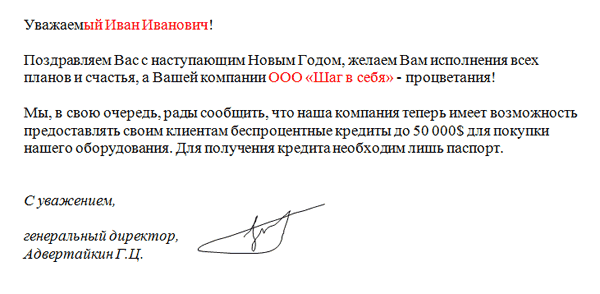
The task is to automatically create a separate letter for each person, where the full name and name of the client's company will be inserted, so that these letters can then be printed. In Microsoft Office terms, such a procedure is called Merger (Mail Merge) .
A table with a list of customers must satisfy a few simple conditions:
Everything is simpler here - you need a regular Word document with empty spaces left in it for inserting fields from the Excel list.
Open the letter template in Word and run the step-by-step Merge Wizard on the tab Mailing (Mailings) button Start the merge (Start Mail Merge) – Step-by-step merge wizard (Step-by-Step Merge Wizard) :
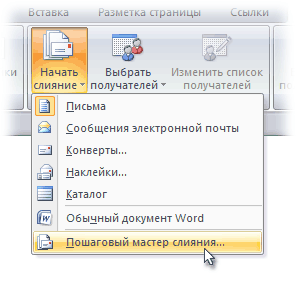
In Word 2003 and older, this command was available from the menu Service - Letters and mailings - Merge wizard (Tools - Letters and Mailings - Mail Merge) .
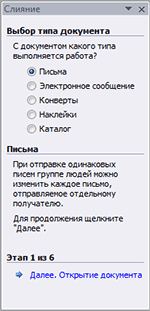
Next follows a process of 6 stages (switching between them - with the help of buttons Forward (Next) and Back (Back) in the lower right corner in the task area).
At this step, the user must select the type of documents that he wants to receive at the output after the merger. Our option is Letters (Letters) .
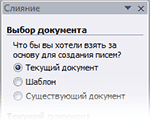
At this step, it is necessary to determine which document will be the basis (preparation) for all future messages of the same type. We choose - Current document (Current document) .
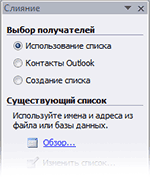
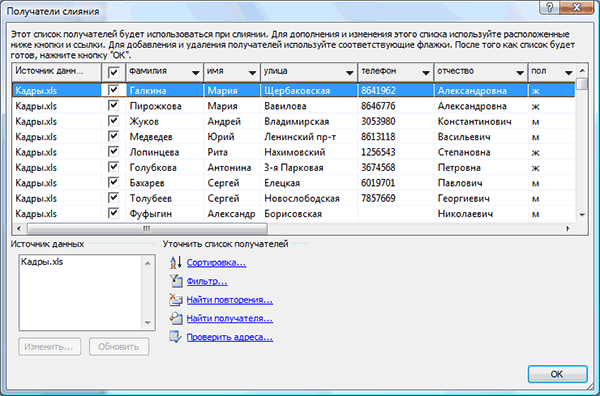
In this step, we connect the customer list in Excel to the Word document. We choose Using the list and press on Review (Browse) , after which, in the file opening dialog box, we indicate where our file with the list of clients is located. After selecting a data source, Word allows filtering, sorting and manual selection of records using a window Recipients of the merger :
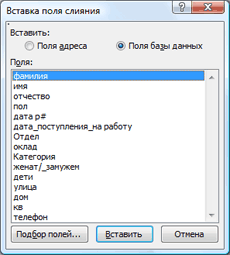
At this stage, the user must indicate where exactly the data from the connected list should go in the document. To do this, you need to set the cursor in the place of insertion in the letter and use the link Other elements - it displays a complete set of all fields in the list, from which we select the desired field for insertion:
As a result, after inserting all the merge fields, we should get something similar:

At this stage, the user can already preview the fusion results using the arrow buttons. If necessary, you can also exclude any recipient from the set.
Clicking the link Printing will cause all merge results to be immediately sent to the printer without output to the screen.
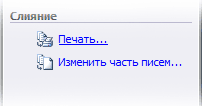
If you need to save the documents created as a result of the merger for later use or you need to manually edit some of the documents, then it is better to use the link Change part of the letters (Edit individual letters) , which will output the merge results to a separate file:
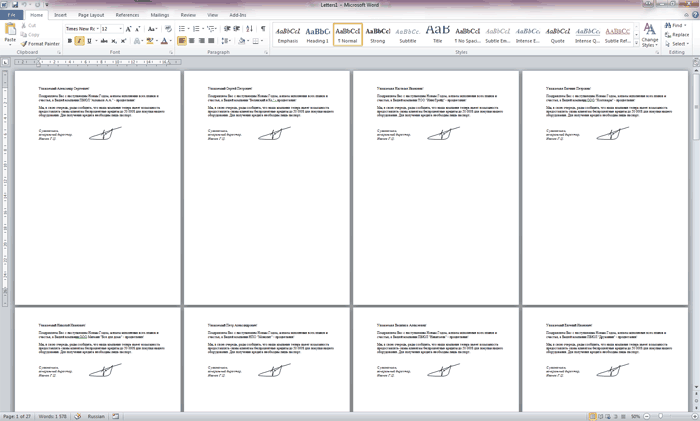
The received document can be sent for printing or edited and saved as desired for similar mailings in the future.